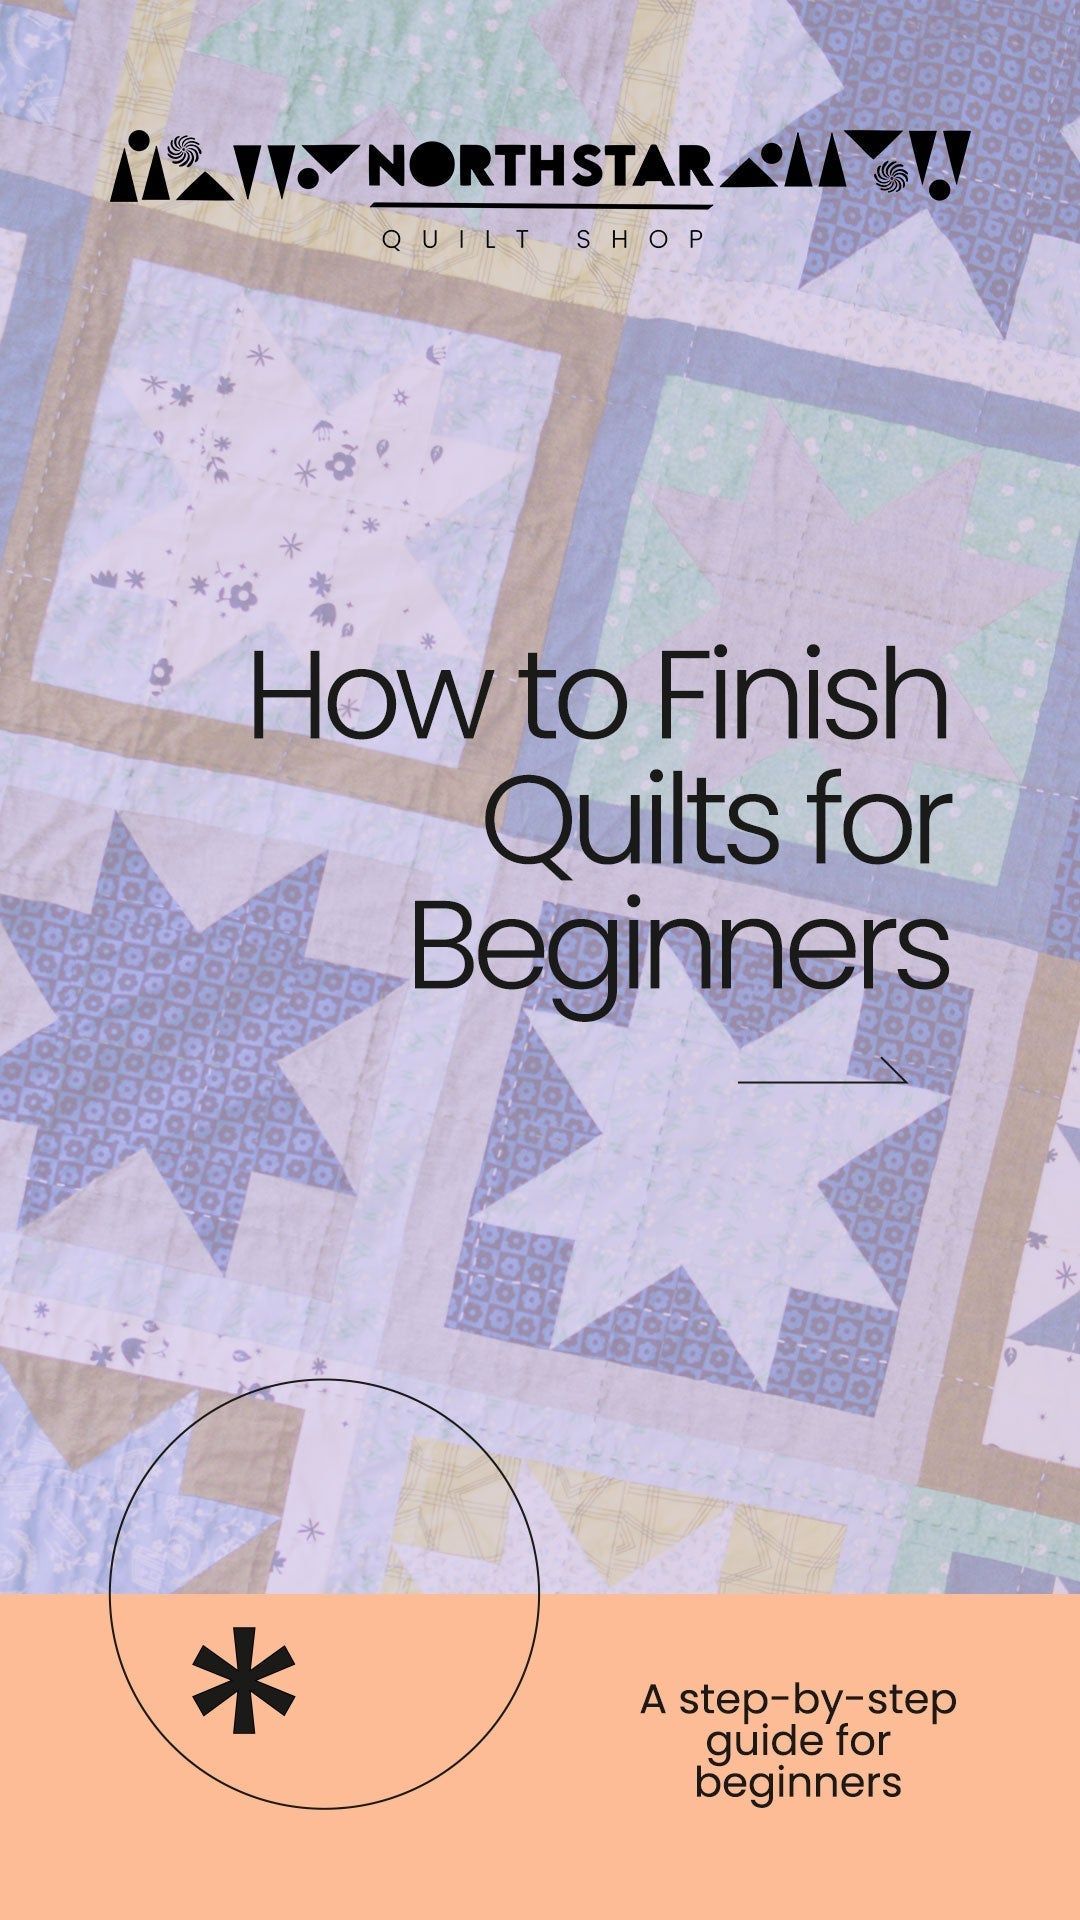
How to Start Quilting For Beginners: A Step-by-Step Guide (Part 2)
Basting, Quilting, and Binding: Finishing a Quilt
There are lots of steps in the quilting process, and it can quickly get overwhelming for a first-timer. This post is to help you get started by covering the last three steps of the quilting process: basting, quilting, and binding. Just enough information for you to finally finish that project, but not too much to send your head spinning. If you haven’t yet tackled the first few steps of quilting, then you can check out our previous post to help you get started.
Basting, quilting, and binding are the stepping stones to transforming your fabric dreams into a cozy reality. Together, these three processes transform your fabric scraps into a cherished quilt, ready to be enjoyed for generations to come. Let's explore each of these stages in more detail!

Basting
Basting is the process of temporarily fixing the three layers of a quilt together so they can be quilted. The three layers of a quilt, also known as a quilt sandwich, are the quilt top, the batting, and the backing.
Layers of a Quilt Sandwich
The quilt top is the part of the quilt that you want to be considered the front of the quilt. This can be something you’ve pieced together or it can be a single layer of fabric.
The batting (or wadding) is the middle, insulating, layer of a quilt. The batting is the layer of the quilt that will be hidden inside and will add dimension to your project once you quilt it. The batting should be 8 to 10 inches longer and wider than your quilt top.
The backing is the part of the quilt that you want to be considered the back of the quilt. This also can be something you’ve pieced together or a single layer of fabric. The backing should be 8 to 10 inches longer and wider than your quilt top.

What kind of batting should I use?
When choosing what type of batting is best for your project there are three factors that I like to take into consideration: fiber, loft, and availability.
Fiber
Batting is usually made of cotton, polyester, cotton/poly blend, wool, silk, or bamboo but literally, anything can be used. While each of the types listed will give a different effect to your quilt, they will all work. Cotton, polyester, and cotton/poly blend are the most commonly used types of batting, they can all be washed and dried in the machine, and are more affordable. Wool, silk, and bamboo are not as easily available and are usually more expensive. Wool and bamboo batting are both typically machine washable but silk batting should be washed by hand. Always be sure to check the washing directions on the packaging before use.
Loft
Loft is the thickness or thinness of batting. A high loft is thicker and a lower loft is thinner. Using batting with a higher loft will give more dimension to your quilt and will highlight your quilting. Typically, wool and polyester batting have a higher loft. Cotton batting usually has a lower loft.
Availability
While the types of batting listed here are the most commonly used and what you will likely find at your local quilt shop or big box store don’t feel limited to these options. Like I mentioned above, as long as you have enough literally anything can be used as batting. If you’re not up for spending money right now try using something you already have. Use an old flannel sheet for a super lightweight quilt or a fleece blanket for an extra cozy and warm quilt.
How to Baste a Quilt
The three most common methods for basting are; pin basting, spray basting, and thread basting. In all three techniques, you start by spreading out your backing fabric right side down on a flat surface, followed by your batting. Then lay your quilt top right side up on top, making sure you have about 4” of batting and backing extending beyond all edges of your top. The goal is to get your quilt sandwich as smooth and flat as possible without stretching or warping any of the layers.
Pin Basting
When pin basting you use safety pins or basting pins (which are slightly curved) to hold the quilt sandwich together by pinning all three layers together, with each pin four to ten inches apart depending on how large your project is.
Spray Basting
When spray basting you use a temporary adhesive spray specifically made for fabrics such as Odif’s 505 spray to hold the layers together and usually set the adhesive with heat from your iron. If you’d rather not use an aerosol spray there are recipes for making your own basting spray that you can use in a regular spray bottle and there are also adhesive powders like this that work similarly.
Thread Basting
When thread basting you use, you guessed it, thread to hold the quilt sandwich together. You can you any type of thread and make the stitches as big as you like. There are many techniques for doing this and depending on how big your quilt is it might be easiest to roll up the quilt sandwich and unroll just a section at a time while stitching.

Quilting
Quilting is the process of sewing the three layers of a quilt sandwich together. This can be done by hand, on a domestic sewing machine, or on a longarm quilting machine.
Hand Quilting
Hand quilting is, just as it sounds, when you use your hand, along with a needle and thread, to stitch the layers of a quilt together. This is done by weaving the thread over and under the fabric to hold it all together. Much like handwriting, hand stitching will look different for every person. If you're interested in learning more about how to hand quilt you can check out Wax and Wane Studio’s free hand quilting course, The Art of Hand Quilting where they dive deep into the mechanics and nuances of the craft.
Machine Quilting
Machine quilting is when you use a machine to sew the three layers of your quilt together.
Domestic Machine
In most cases, you can use the same machine you use for piecing a quilt top to quilt the layers together as well. Using a special presser foot made for quilting, called a walking foot, can make it a lot easier to squeeze the layers through your domestic machine. This special foot helps keep the layers of fabric from bunching while you are quilting. Usually, a walking foot is sold separately from the sewing machine. If you are shopping for one just make sure it is compatible with your machine.

Longarm Machine
A longarm is a machine specifically made for quilting quilts. They are large, big enough to take over a room, and not easily accessible so most people will send their quilts to a longer business. The cost is calculated based on the size of your quilt and the complexity of the quilting design, or pantograph, you choose. In some places, there are shops to rent time on longer machines so you can learn how to use the machine and do the quilting yourself. If you’re looking for a longarmer local to you check out the Longarm League Directory or ask at your local quilt shop.

Binding
The binding is the long, thin strip of fabric, and the finishing touch, that goes around the perimeter of a quilt and encloses the raw edges. Binding can be created by joining strips of fabric cut along the straight grain, cross-grain, or bias grain. Binding is also the process of sewing that long strip of fabric to the quilt sandwich.
Preparing Fabric for Binding
Before you can start closing up your quilt you need to prepare the fabric for your binding. You can check out Wax and Wane Studio’s Binding Prep Tutorial to help you figure out how much fabric you need and how to actually make the binding.
Machine Binding
Machine binding is when you use a machine to both attach the strip of fabric to the quilt and tack it down after wrapping over the raw edges of the quilt. For this method, you attach the strip of fabric to the back of the quilt and fold it over to the front to ensure your machine stitches line up correctly on the front of your quilt.
Hand Binding
Hand binding is when you use a machine to attach the strip of fabric to the quilt then tack it down with a hand stitch after wrapping over the raw edges of the quilt. For this method, you attach the strip of fabric to the front of the quilt and fold it over to tack it down on the back. You can choose to use a visible stitch or hidden stitch.
How to Bind a Quilt
To attach the long strip of prepared binding fabric to your quilt, line up the raw edges of the strip with the raw edges of the quilt. The folded edge of the binding should be aimed toward the middle of your quilt. Use your machine to sew the quilt and strip of binding together with a quarter-inch seam allowance. Then fold the binding over the edge of the quilt and tack it down as desired.

Other Finishing Techniques
Wall Hanging
For a quilted wall hanging a great way to make it easy to hang is to add two corner pockets on the back before attaching the binding. Then, you can use either a wooden dowel or some push pins in the pockets to hang your project. You can check out Wax and Wane Studio’s How to Finish a Wall Hanging tutorial if you’d like to give it a try.
Pillow
Another great way to finish a small quilt is to turn it into a pillow. Since I’m not a huge fan of dealing with zippers, my go-to way to make a pillow is the envelope method. It’s quick, it’s simple, and it’s easy. If you’d like to try this out, head over to Wax and Wane Studio’s How to Make an Envelope Pillow tutorial
Facing
If you’re not feeling the classic binding look or you’re wanting your quilt to lay nice and flat on a table (as a table runner or placemat, perhaps?) then facing may be what you’re looking for. This method also uses a strip of fabric but it is only seen on the back of the quilt, giving the front a clean look. For a great facing tutorial check out this post by Jenny of Papper Sax Sten
Continue Your Quilting Journey
Now that you know the basics and the last few essential steps of the delightful quilting process, it’s time to finally finish that beautiful quilt you’ve been passionately working on! Go gather all the materials you need to complete your masterpiece, and then jump right in with enthusiasm and boundless creativity! Let your imagination soar as you bring your quilt to life!


